
Welcome to Adeagle, your go-to marketing platform for creating powerful advertising campaigns tailored to enhance your Shopify store’s visibility. Whether you’re just starting out or seeking to optimize your marketing endevours, Adeagle is here to empower your journey.
Brief Overview of Adeagle’s Purpose
Adeagle is an automatic way to drive more customers to your shop. It helps you display targeted, high converting ads of your products in partner stores and on the right websites or apps across the Internet. It’s a comprehensive platform designed to simplify the process of creating, managing, and optimizing advertising campaigns. Our goal is to provide you with the tools and insights, so even for a beginner, running marketing campaigns is an easy, straightforward process.
In this article, we’ll guide you through the fundamental steps to help you navigate Adeagle seamlessly. From setting up your account, creating your first campaign, to giving it its initial tweaks for optimal performance.
Installing Adeagle
Installing Adeagle on your store is a straightforward process. Simply open Adeagle’s listing in the Shopify App Store, and click on the ‘Install’ button. You’ll be redirected to the app’s installation page, where you’ll need to grant permissions for Adeagle to access your store data, like products and collections you wish to promote through our marketing platform. Once you’ve accepted these permissions, Adeagle will be successfully installed on your store, and you’ll be directed to the app’s initial screen. Here, you can choose the plan that best fits your needs – from the free plan offering access to the ad exchange with other Shopify stores, to more advanced plans enabling promotion on even more specialized ad placements, such as within niche, topic-specific websites or apps relevant to your products. On advanced plans you can also get far more impressions of your ads and exposure of your products.
Creating your first campaign
After you select your plan, you will be able to create your first campaign with Adeagle.

Creating a campaign consists of 4 simple steps. When you click on the ‘Create Campaign’ button, you are redirected to the campaign creation wizard.
Step 1/4: Set up your campaign
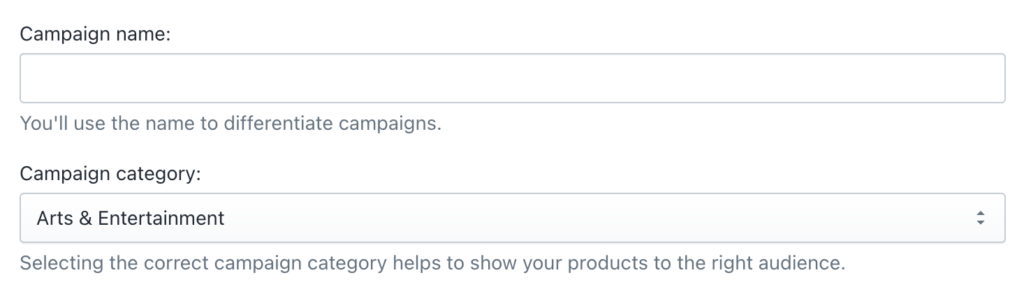
In the first step, provide a name for your campaign. The name of the campaign can be anything, serving as a convenient reference for your identification of the campaign later on.
Then, you need to select the category for your campaign. This is very important, as this will ensure that your ads will be displayed on relevant websites and apps.
For those on the free plan, it’s also obligatory to choose how ads will be displayed on your website. As part of the ad exchange in the free plan, displaying ads on your store is a prerequisite for your campaigns to showcase your ads. If you prefer not to display ads on your website, consider upgrading to one of our advanced plans.
Step 2/4: Set up the targeting of your campaign
In the second step, you’ll encounter two optional settings that can significantly enhance your campaign’s performance, making it highly recommended to configure them.
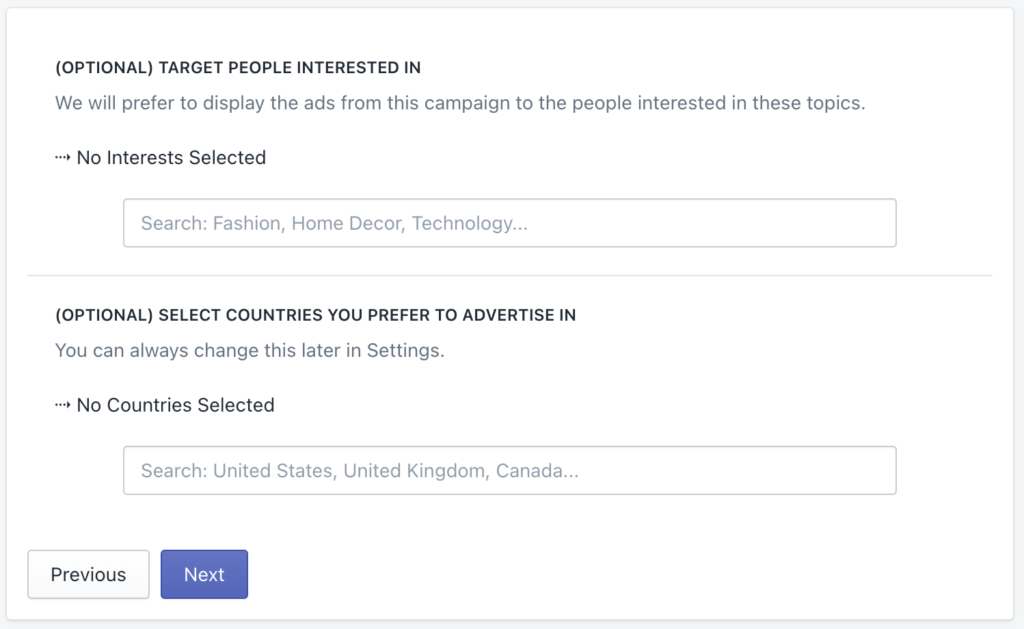
Firstly, you have the option to choose the interests of the users you want to target. It’s advisable to align these interests with the products you’re promoting, ensuring your ads reach users genuinely interested in your offerings and boosting the likelihood of clicks.
Secondly, you can specify the countries where you want your ads to appear. Our algorithm will then prioritize displaying your ads in these selected countries, a crucial consideration if your products are shipped exclusively to particular regions. This way, you can tailor your campaign to reach the most relevant audience and maximize its impact.
Step 3/4: Select products for your campaign
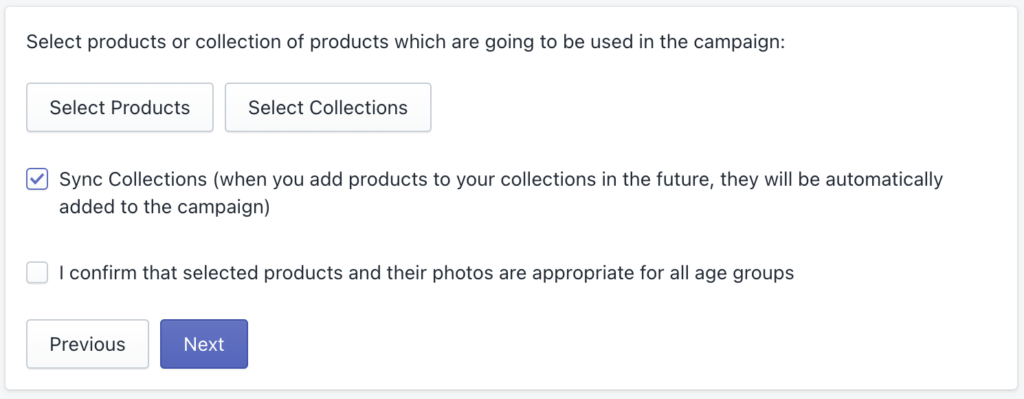
Moving on to Step 3, it’s quite straightforward. Here, you’ll choose the specific products and collections you want to highlight in your campaign, providing the flexibility to select individual products as well as entire collections.
For added convenience, you might want to explore the ‘Syncing Collections’ option. Enabling this ensures that the products featured in your campaign stay synchronized with your collections. Any changes, like adding or removing products from collections, will be seamlessly reflected in your campaign.
Additionally, it’s essential to confirm that your chosen products are suitable for all age groups, complying with Shopify’s requirement.
Step 4/4: Configure campaign settings
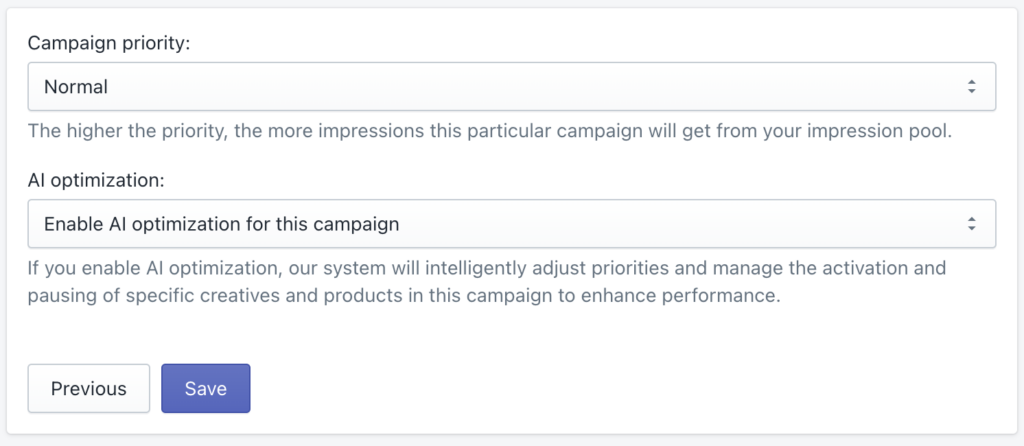
In the final step, you need to select your campaign priority. If you create a few campaigns, then the impressions from your impression pool will be distributed among them based on priorities. Higher priorities mean more impressions for that specific campaign, allowing you to strategically allocate resources based on your goals. Tailoring priorities to each campaign’s needs can be a game-changer.
Next, you’ll choose whether to leverage AI optimization. Enabling this feature empowers our system to dynamically adjust priorities, manage activations and pauses of specific creatives and products, optimizing overall performance. Alternatively, you can set the priorities of your ads and products manually.
Finally, a simple click on the ‘Save’ button brings your campaign to life! Congratulations, your campaign is now active and ready to make an impact.
How to optimize your campaign?
When launching a campaign, selecting the right category is paramount for showcasing your ads on relevant websites and apps. The category determines the type of websites or apps and the vertical where our algorithm strategically places your ads. Meanwhile, targeting interests narrows down to specific users within those platforms.
During the initial week, the algorithm learns where to display your ads, marking a crucial learning phase. To fine-tune your strategy during this period, consider these tips:
- Experiment with multiple campaigns to find the optimal mix of categories and user interests for your products.
- Test various combinations to identify the most effective approach.
- Play around with your product feeds in the Product Feeds section, trying different images and titles.
After approximately 7 days, enhance your campaign’s performance by boosting the best-performing ads (set priority to ‘highest’ in the Ads section). You can also adjust priorities of specific products in the Product Feeds section. You can even pause or lower the priority of underperforming elements. These actions contribute to improved Click-Through Rates.
In summary, the current phase involves creating and testing multiple campaigns. Later, we can revisit and fine-tune your strategy for optimal results.
From Novice to Pro: What comes next after setting up your first Adeagle campaign?
Congratulations on embarking on your marketing journey with Adeagle! As you’ve now set up your first campaign and delved into the nuances of optimizing it, let’s explore the path ahead.
Understanding Your Campaign’s Performance
Keep an eye on how your campaign is doing – think of it as your marketing report card. Adeagle lays it all out for you with insights into impressions, clicks, and other cool stats. Regularly checking these helps you tweak your strategy for maximum impact.
Experiment, Experiment, Experiment
Marketing is like jazz – it’s all about experimentation. Feel free to mix up your ad creatives, targeting options, and campaign settings. Adeagle’s got your back with an easy-to-use interface, so go ahead and try different things to see what vibes best with your audience.
Adeagle’s Got Your Back
Dive into Adeagle’s toolbox! We’ve got tutorials that make advanced features a breeze and FAQs for those burning questions. Our Help Center is your secret weapon to unlock all the cool things Adeagle can do for your marketing game.
Looking Forward to Your Next Move
Your journey with Adeagle is just starting, and we’re stoked to be part of it. Remember, learning and adapting are your secret sauce in the digital marketing world. Adeagle is here to back you up every step of the way.
Cheers to reaching new heights in your marketing game with Adeagle! 🚀